
Photo by Sangga Rima Roman Selia on Unsplash
How to Set Up and Configure API Gateway on AWS: A Comprehensive Guide
Navigate to API Gateway:
Open your web browser and go to the API Gateway service provided by your cloud provider.

Click on Create API button:
Look for the "Create API" button on the API Gateway dashboard and click on it.
In the API creation wizard, select the type of API you want to create. For this example, select "HTTP API". Then click on the "Build" button to proceed.
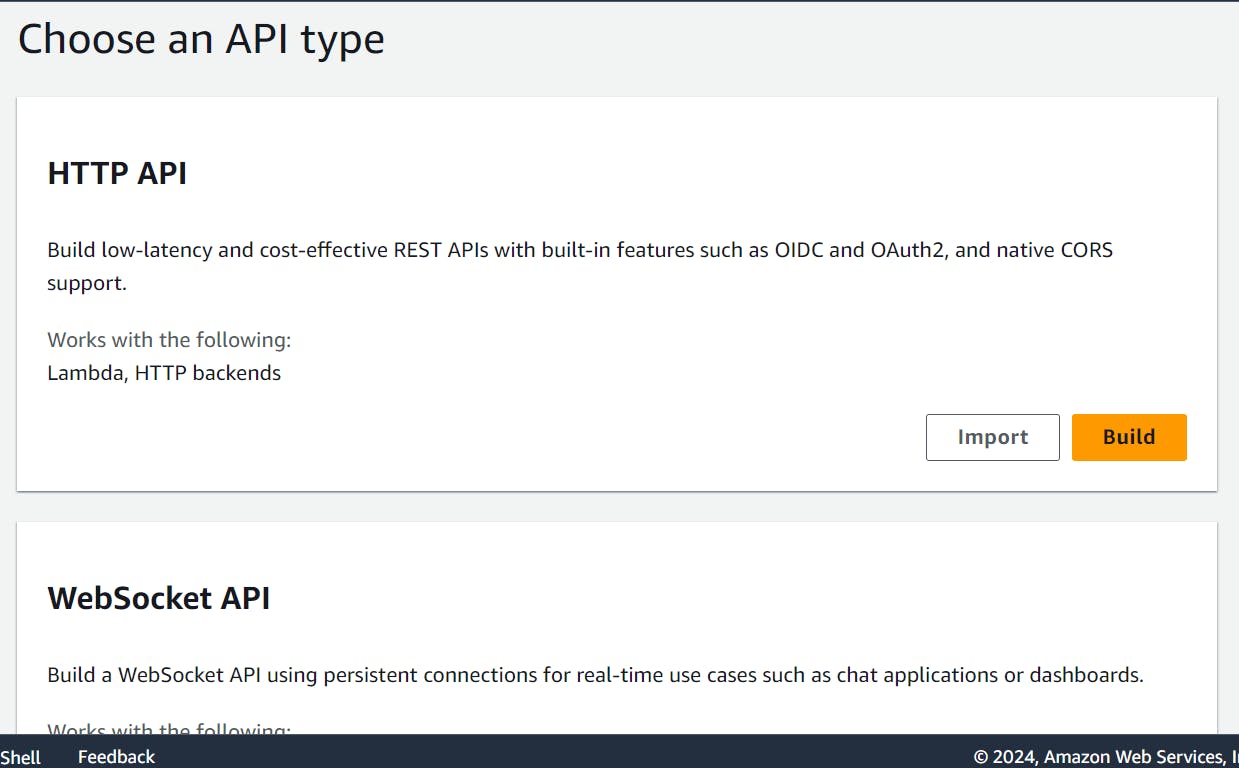
Add Integration:
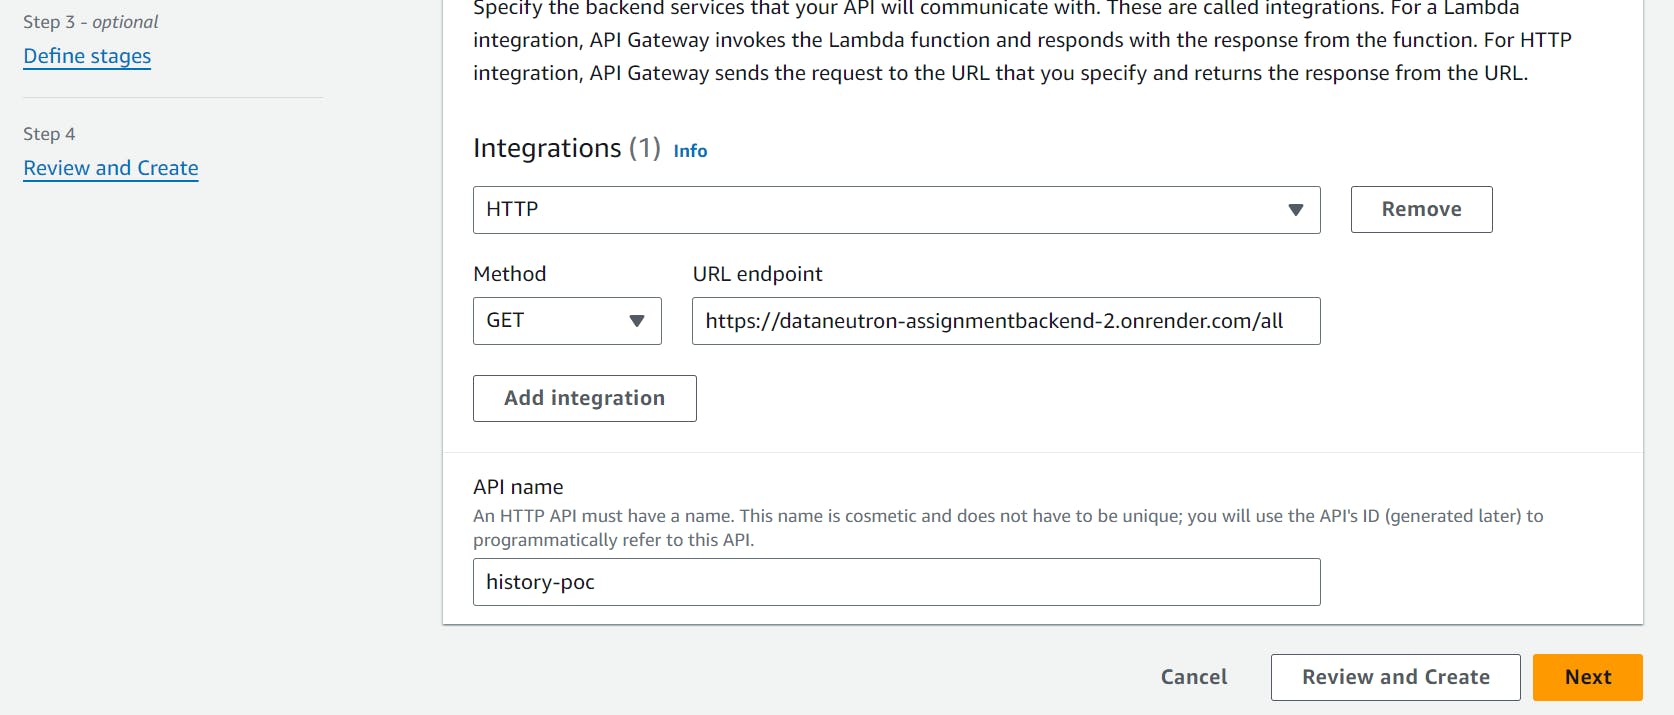
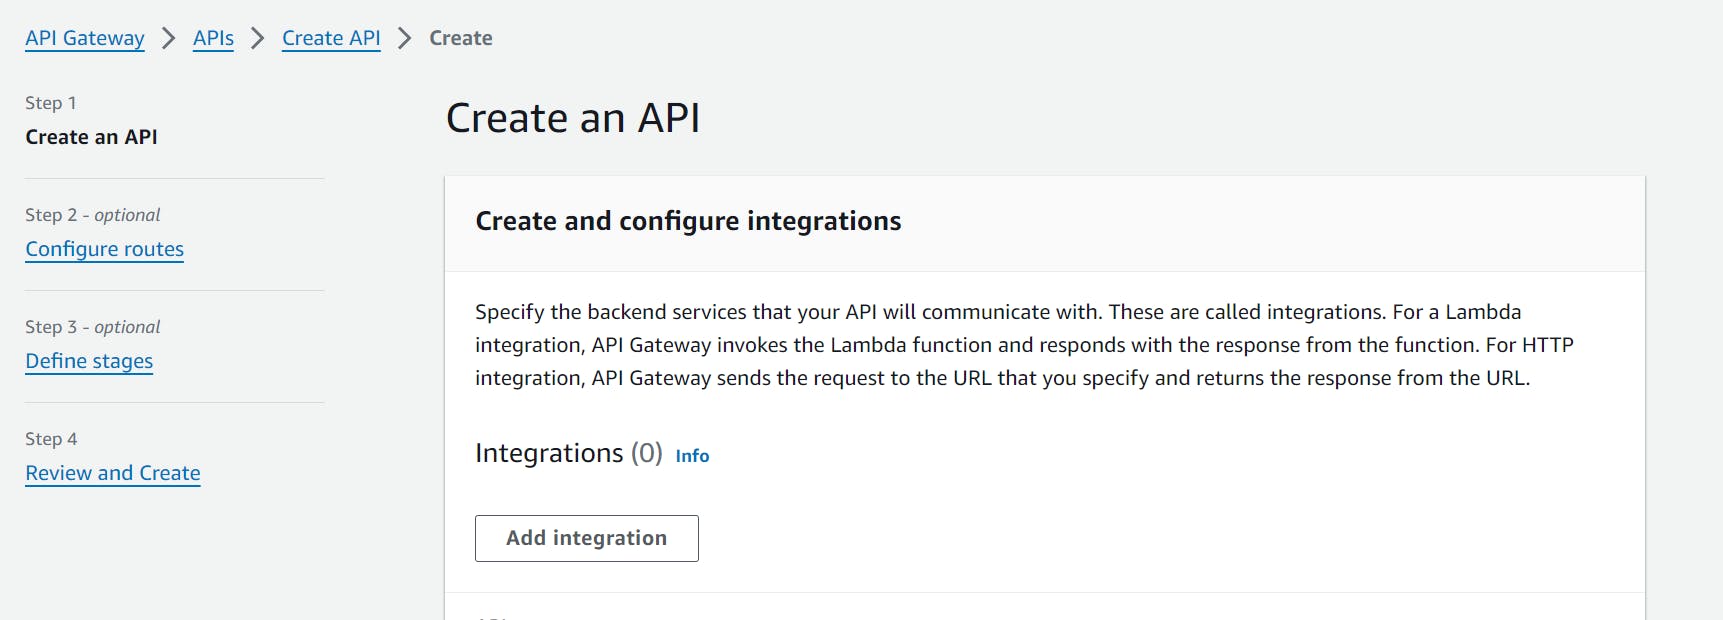
Now, you need to point this route to an already configured backend. Click on the "Add Integration" button.
In the integration settings, add the server URL where your backend service is hosted. Also, give your API a name to identify it later.
Define Resource Path:
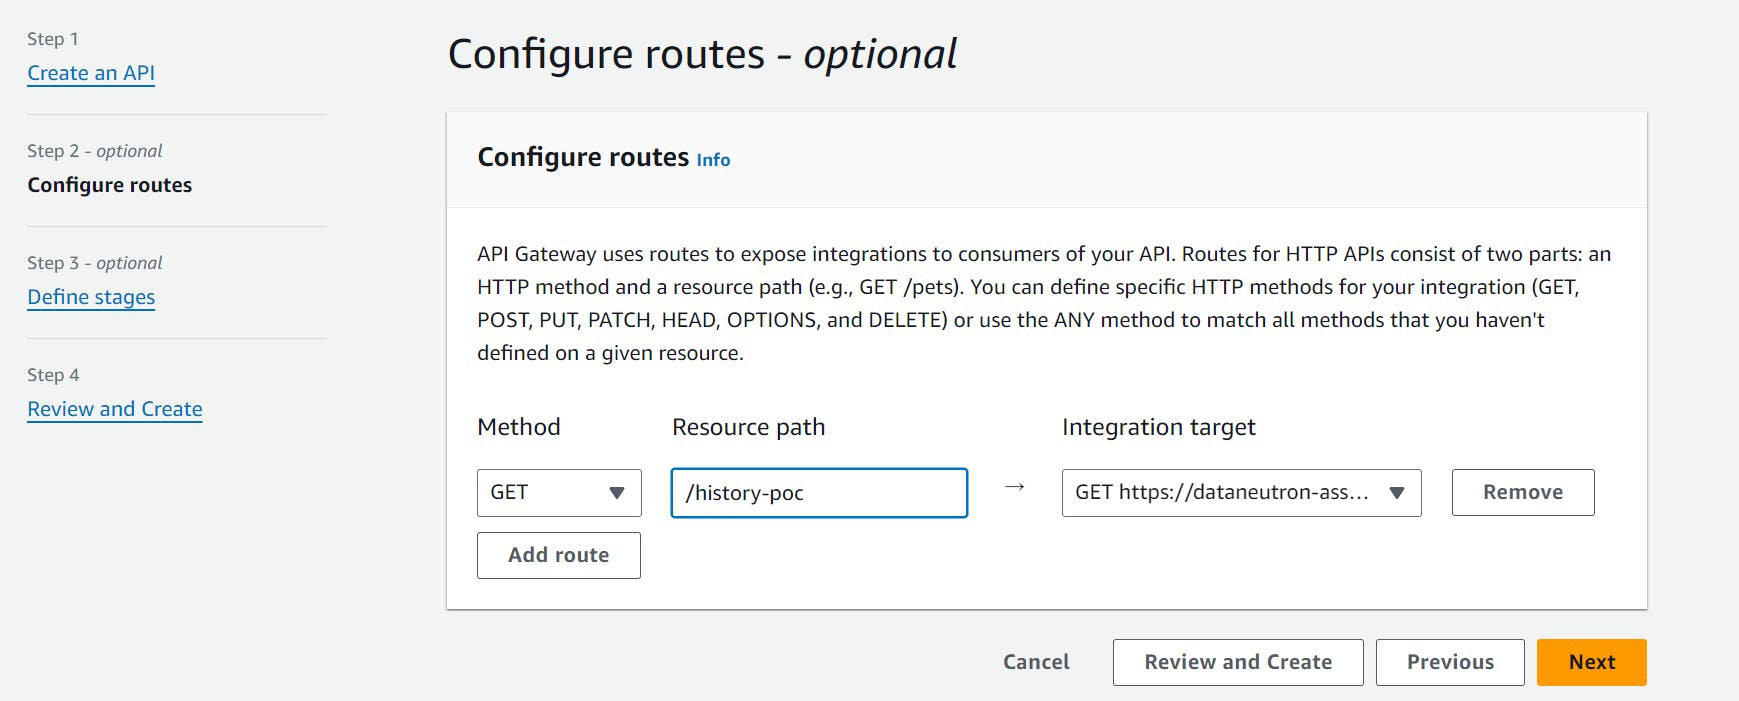
After setting up the integration, define the resource path. This is the URL path where your API will be accessible.
Add Stage Name:
Next, add a stage name for your API. The stage represents a specific deployment of your API (e.g., "development", "production", etc.).

Click on Create Button:
Once you've configured all the necessary settings, click on the "Create" button. This will create your API with the specified configurations.
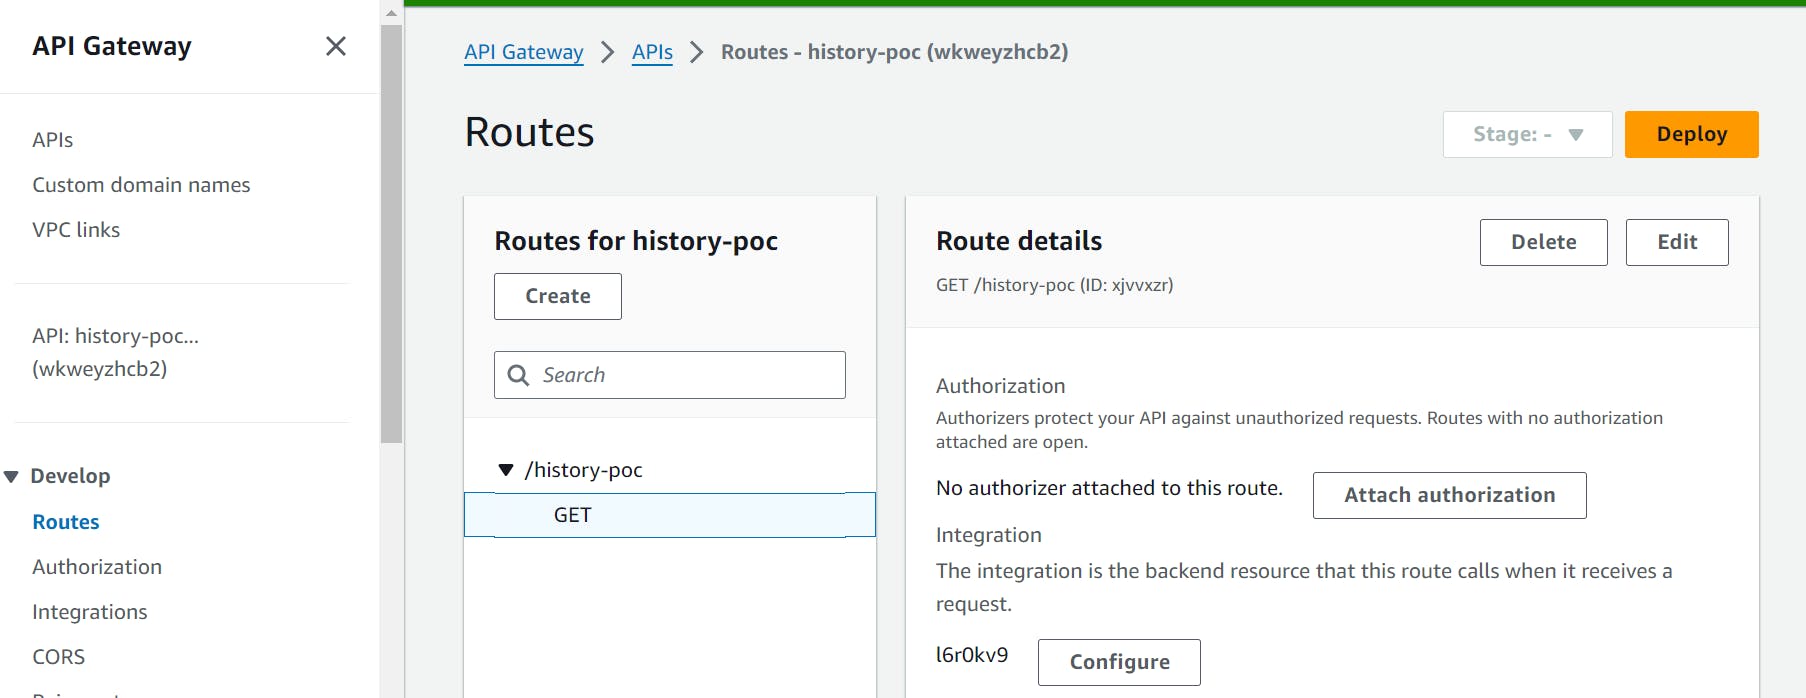
Deploy your API:
After creating the API, it needs to be deployed to make it accessible. Click on the "Deploy" button.
Select the stage that you've created earlier (e.g., "development", "production", etc.) from the dropdown menu.
Confirm the deployment by clicking on the "Deploy" button. After deployment you will get dashboard like this
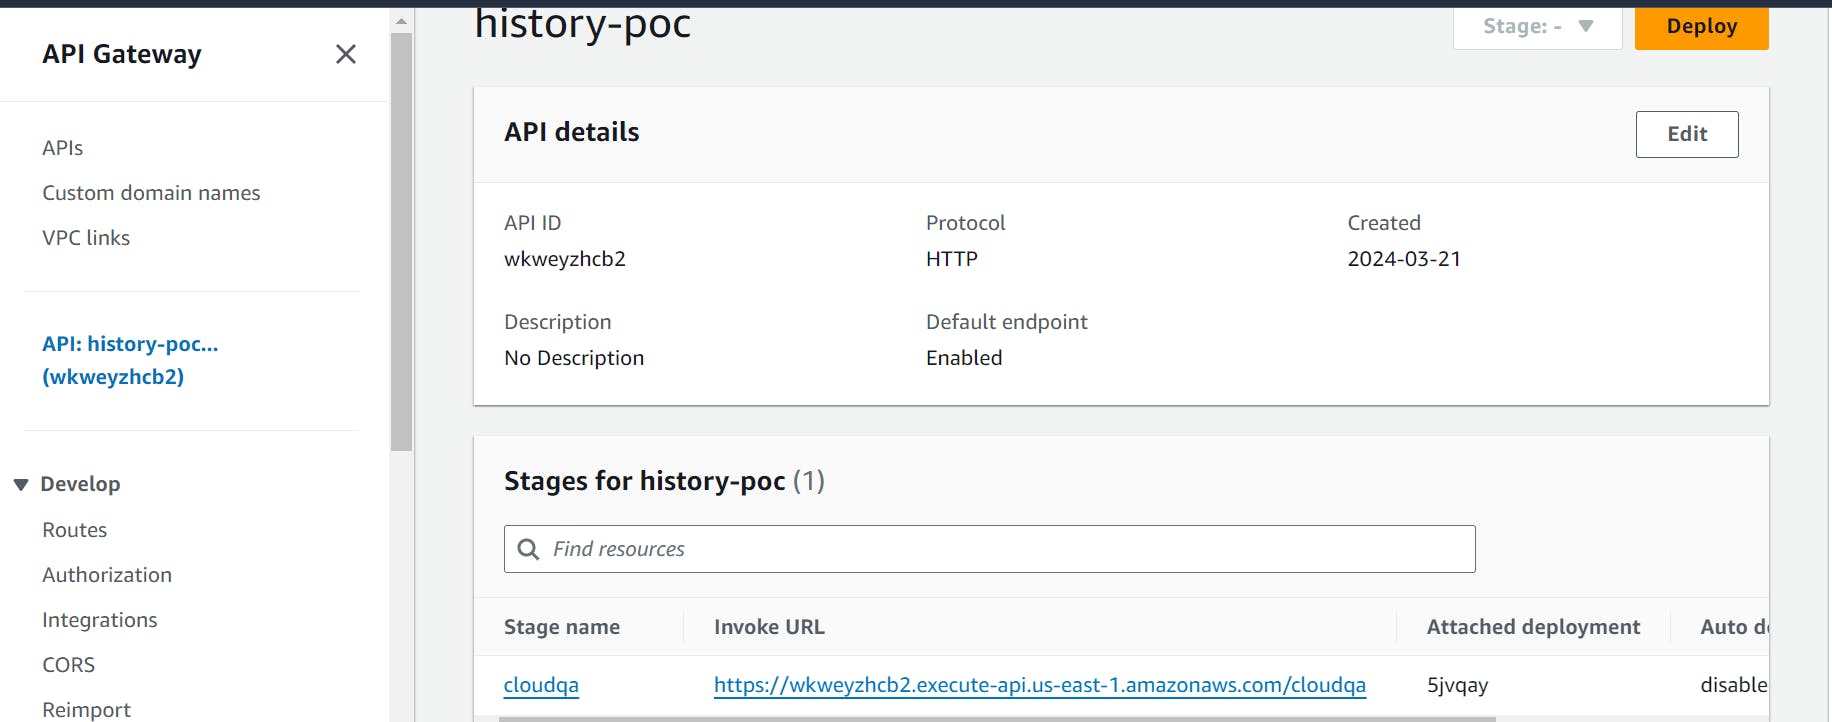
Access the Dashboard:
After deployment, you will be directed to a dashboard where you can manage your API.
Here, you can monitor usage, set up custom domains, configure authorizers, etc.
Use the API:
To use your API, simply copy the provided endpoint URL (usually displayed on the dashboard or deployment confirmation page) along with your route.
Use this URL to make requests to your API. You should receive responses from your backend service accordingly.


